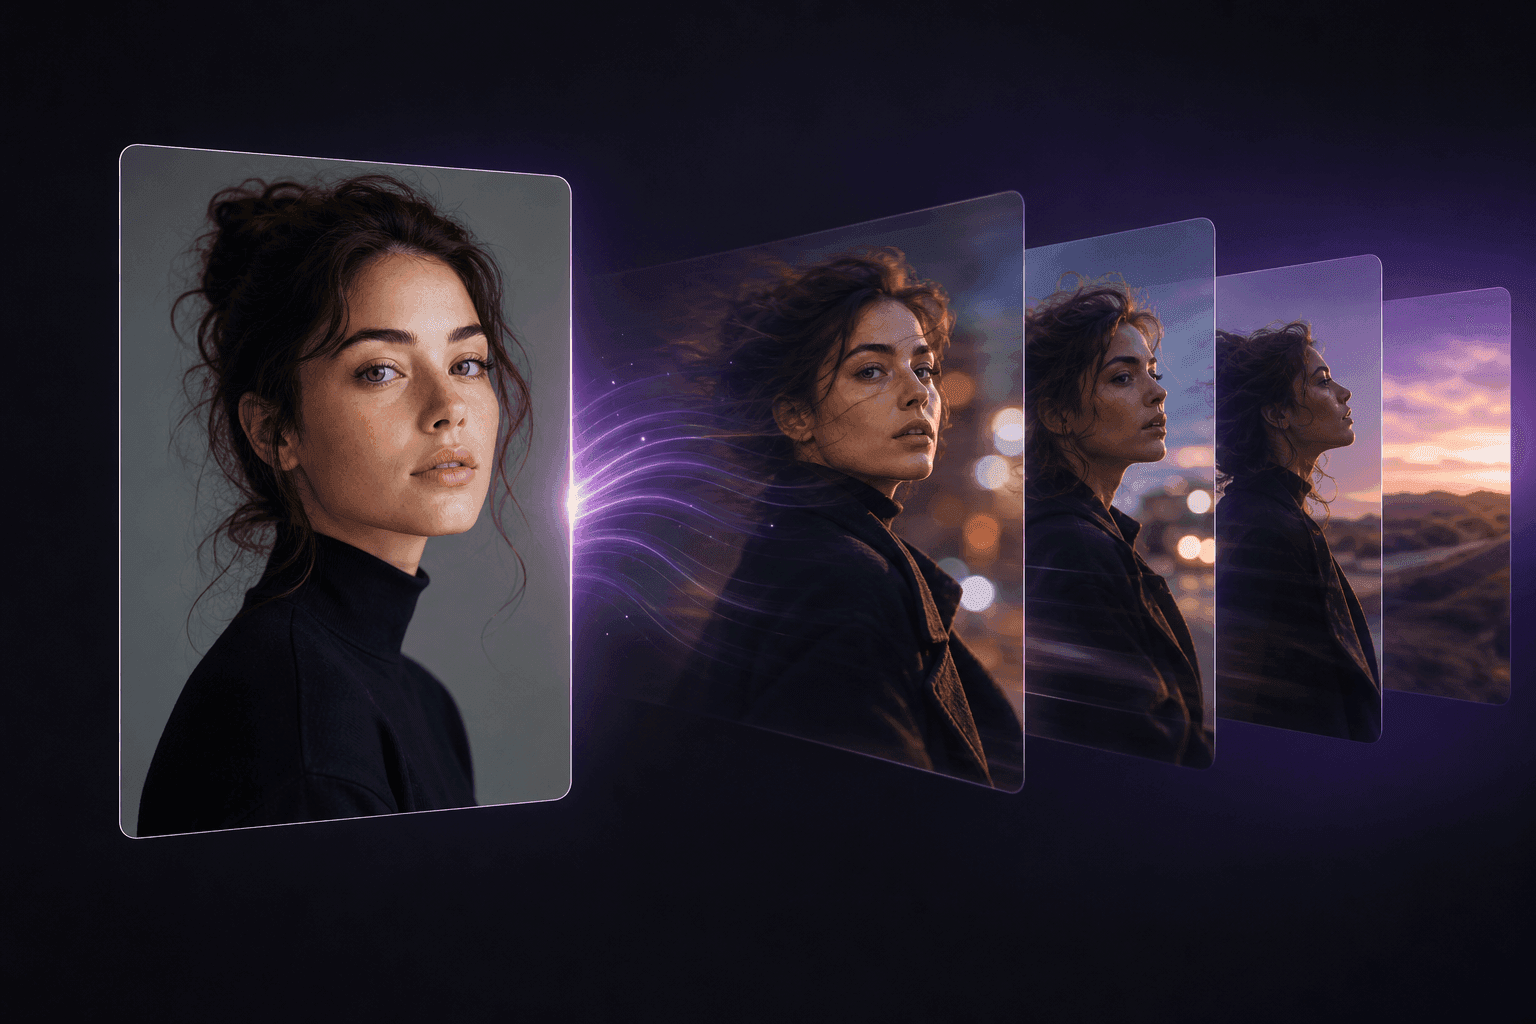
One photo is all it needs
Your uploaded photo anchors the whole render—subject, framing, and look all come from that single frame. The prompt then takes over to decide what moves, how the camera behaves, and what mood the clip lands on.
Upload one photo, describe the motion you want, and Grok Imagine Video 1.5 renders it into a short clip. Set the camera move, the action, and the mood in your own words, then export a result ready for a social post, a product teaser, or a quick concept test.
Explore
These are unedited sample clips from the workflow itself—worth a look for framing choices, how subjects move, and pacing, before you write your own prompt.
Key Features
This tool is built around one job: take a single strong photo and turn it into a short, controlled video, with your prompt steering exactly how it moves.
Your uploaded photo anchors the whole render—subject, framing, and look all come from that single frame. The prompt then takes over to decide what moves, how the camera behaves, and what mood the clip lands on.
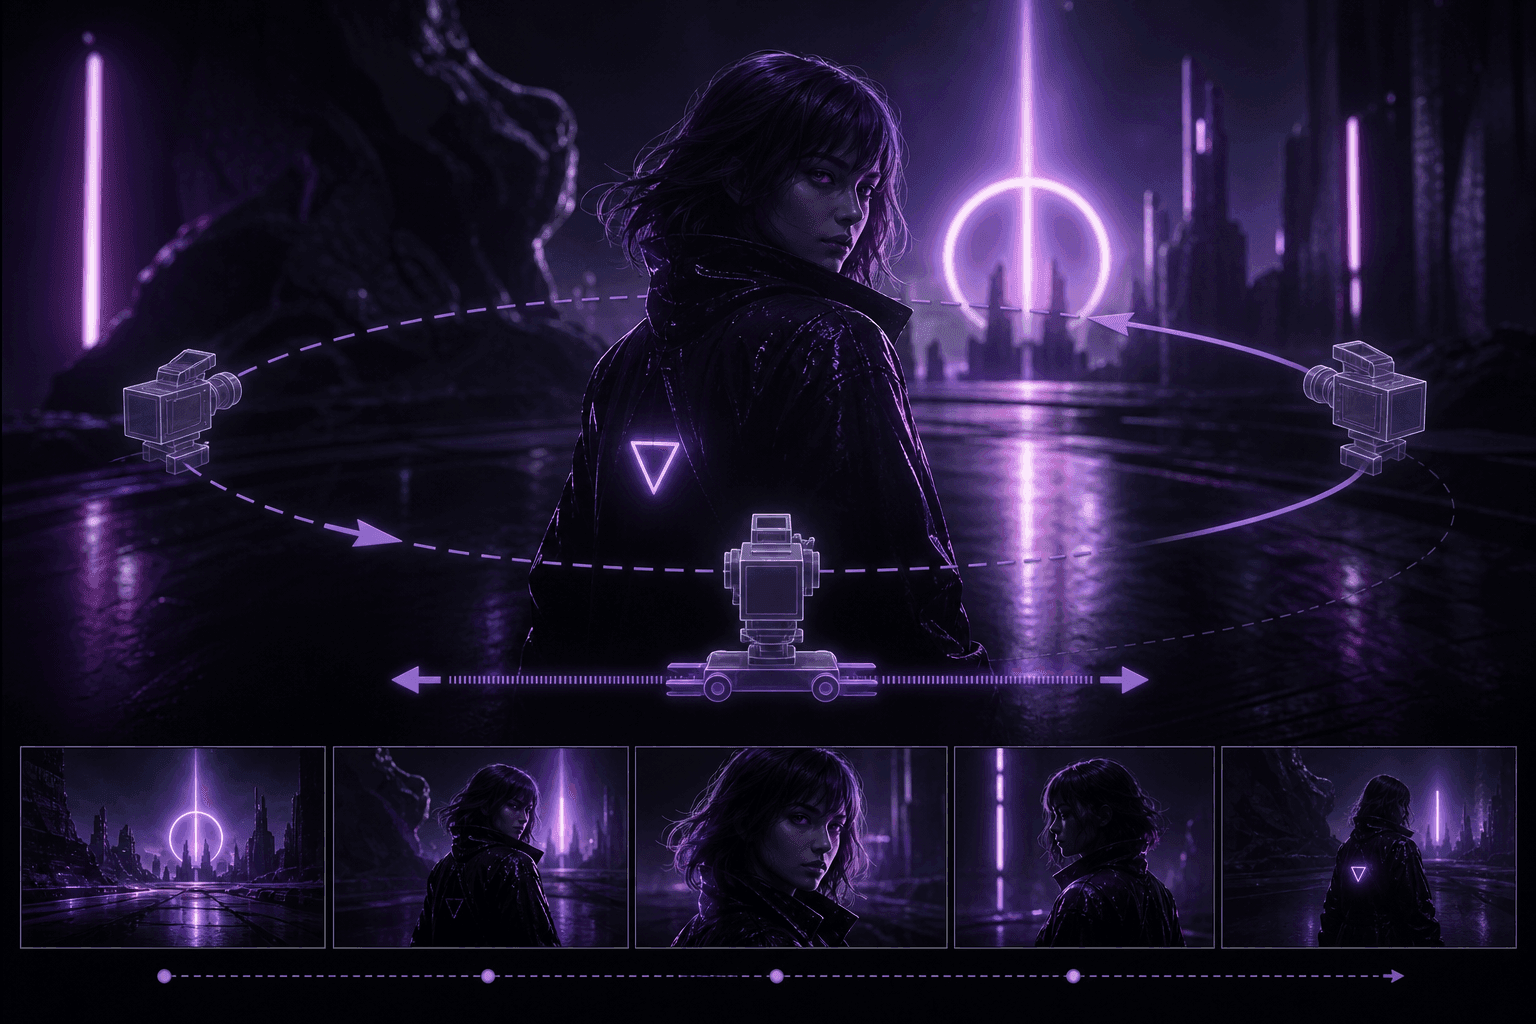
A dolly push, a handheld pan, a slow turn toward camera, a product spin—write it in plain sentences. Results improve when the prompt spells out the subject, the action, the lighting, and which direction the camera travels.
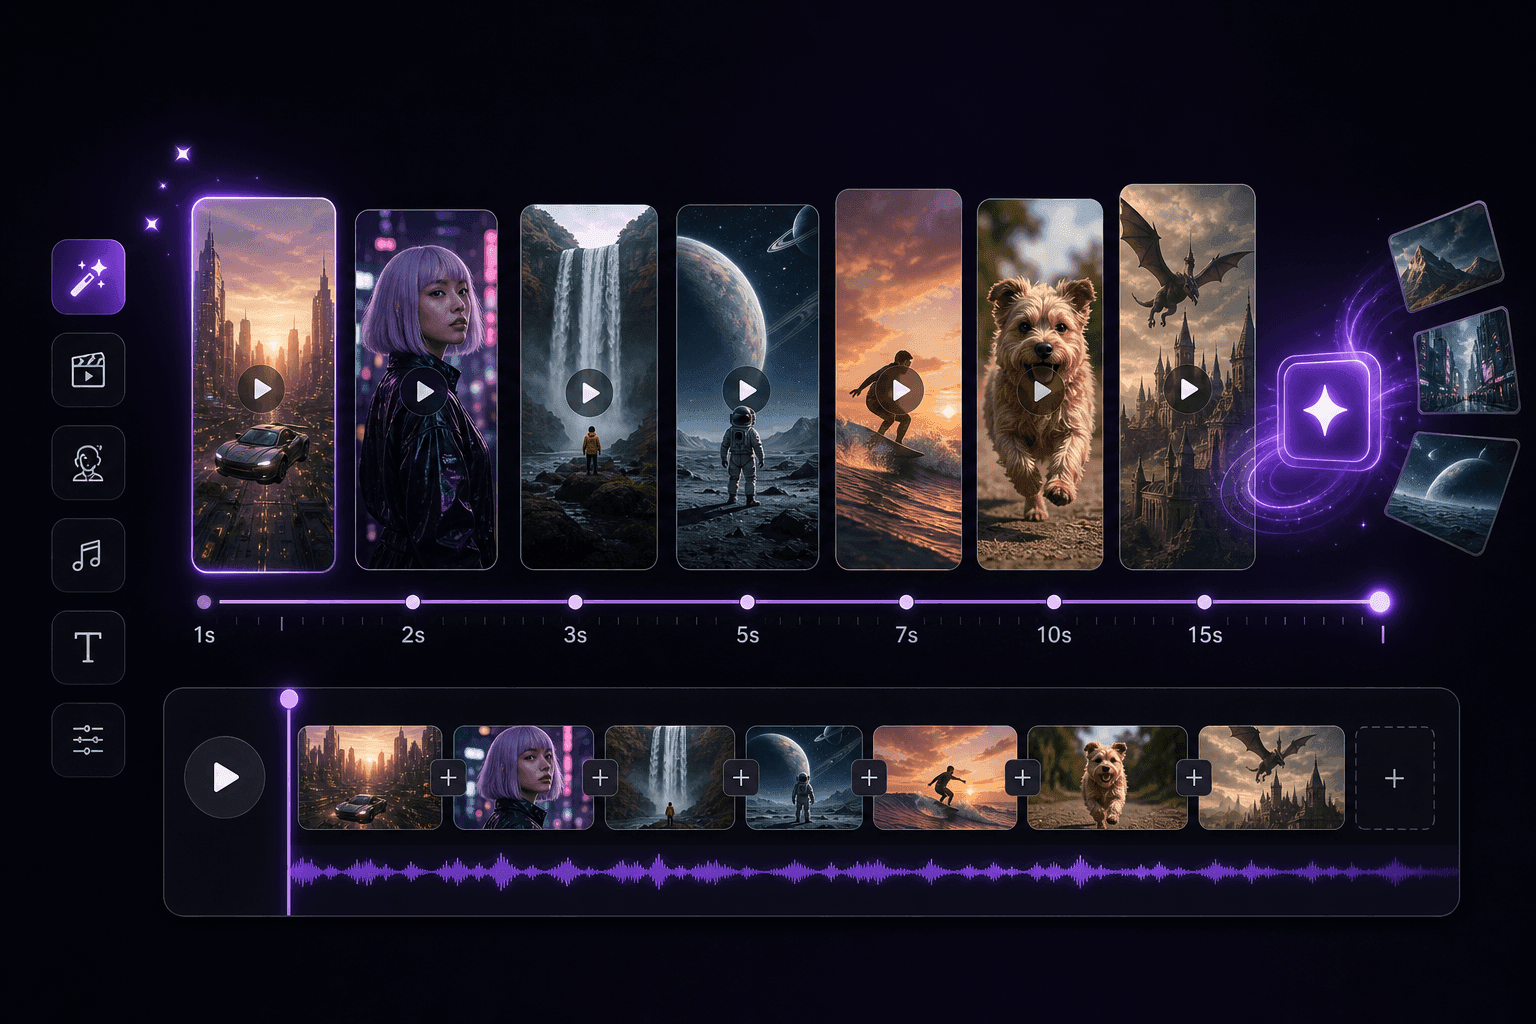
Dial length anywhere from 1 to 15 seconds. Shorter renders suit thumbnails and quick ad variants, while a longer duration leaves room for a full beat of action in a reel or social post.
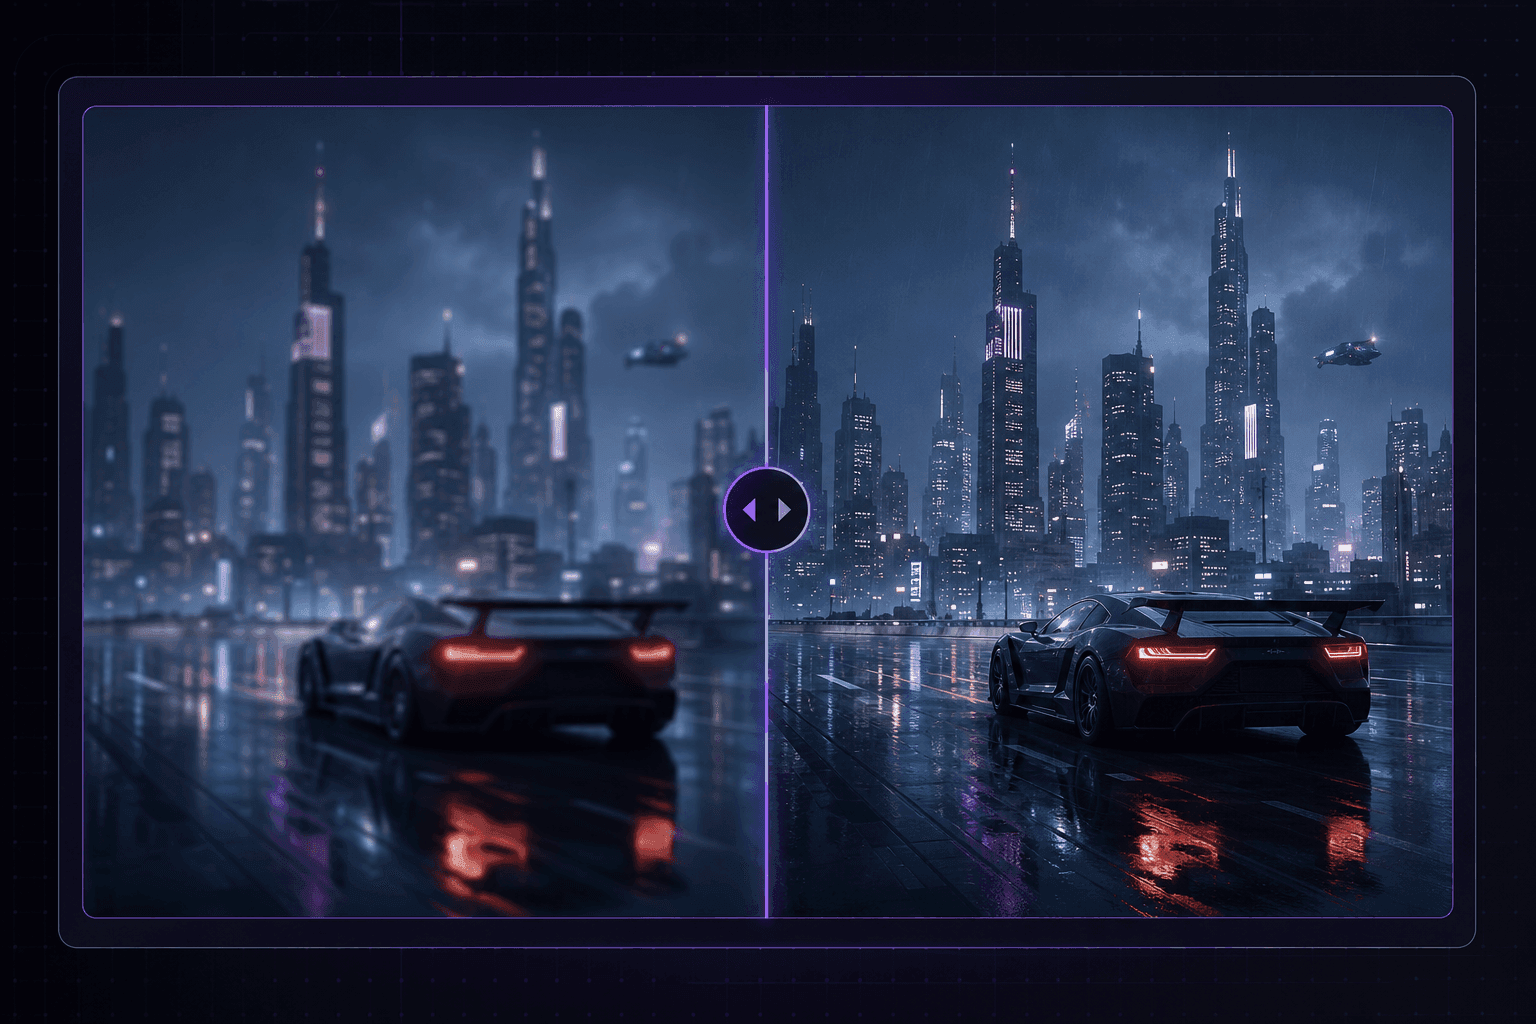
480p renders faster and suits early drafts; 720p costs a bit more in credits but comes out cleaner. The control panel stays minimal on purpose, so most of your time goes into the idea rather than the settings.
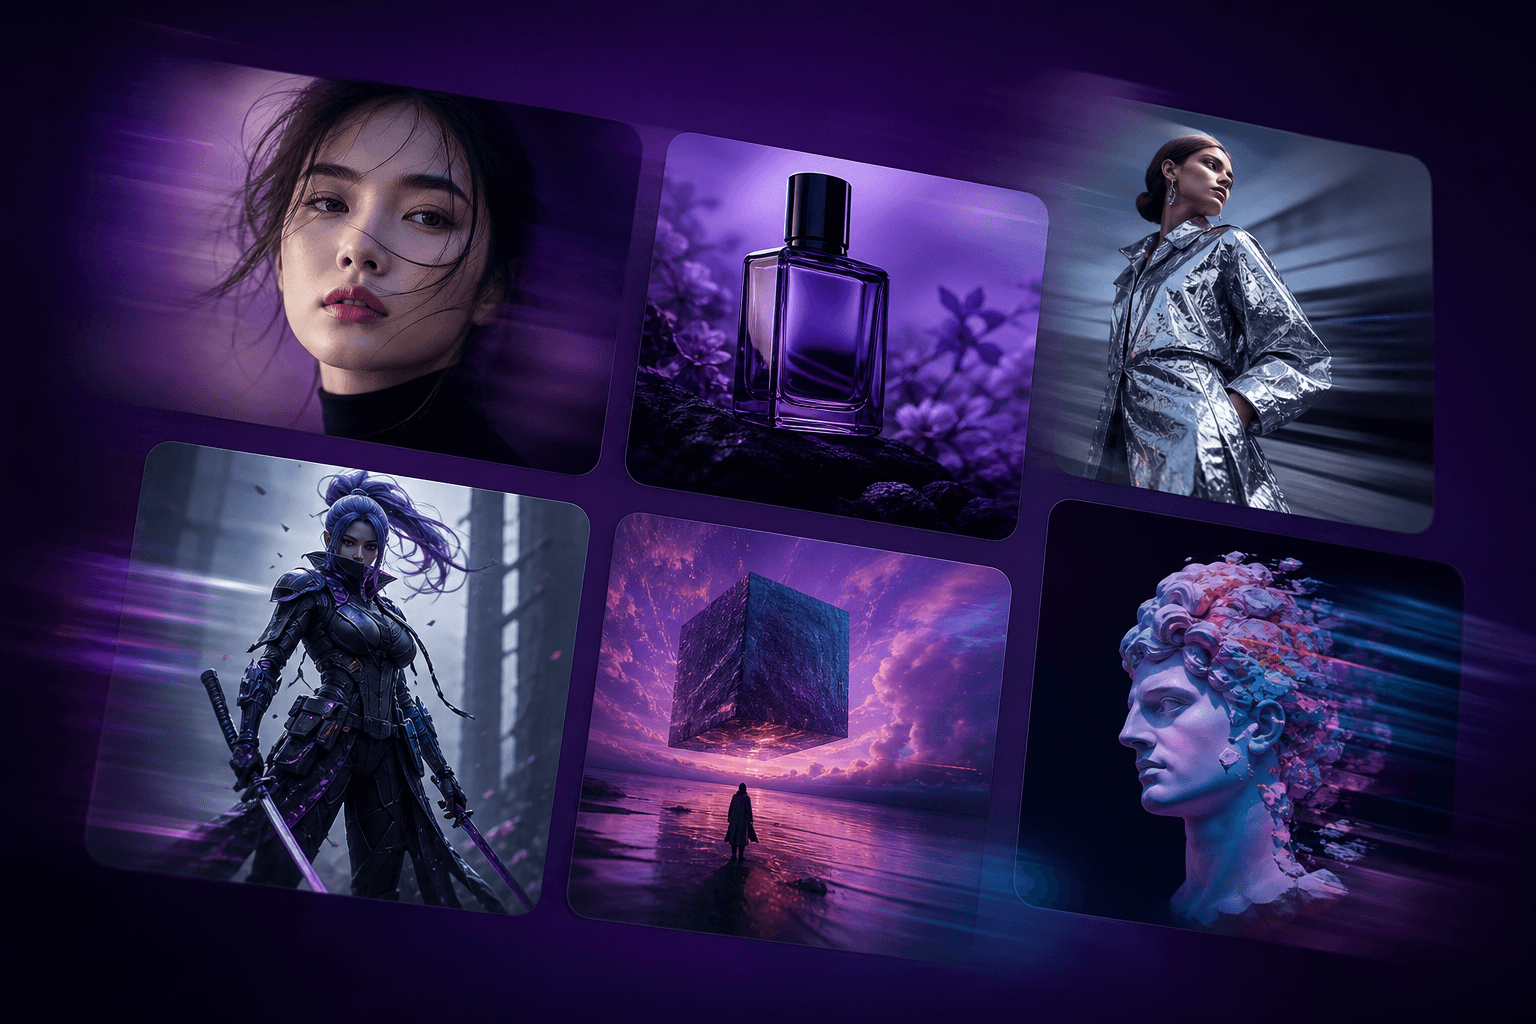
Portraits, product photography, game concept art, illustrations, fashion shoots, and stranger surreal frames all hold up as inputs. That range makes it usable for mood boards, reel filler, pitch decks, and campaign drafts alike.
This interface focuses purely on the visual side of image-to-video generation. The silent MP4 it produces is meant to be dropped into your own editor for scoring, voiceover, or sound design afterward.
How to Use
Go with a sharp image that already has the subject, framing, and style you want carried through. That upload becomes the visual foundation the whole clip is built from.
Spell out what should be moving, how the camera travels, and the feeling you're after. Naming the action, the lighting, the pacing, and the background all sharpen the result.
The slider defaults to 6 seconds—drag it anywhere from 1 to 15. Stick with 480p for a fast look or bump to 720p when you need the sharper output.
Kick off the job, let the preview load, and pull down the MP4 once it looks right. From there it slots into a reel, a storyboard, a pitch deck, or an ad concept.
FAQ
It's a focused image-to-video workflow: upload one photo, describe how it should move, and get back a short clip. LongCat AI runs this as an independent browser tool for the v1.5 image-to-video pipeline — there's a prompt box, duration and resolution controls, a preview player, and a download button, and that's the whole interface.
No. LongCat AI operates this page independently and has no affiliation with xAI or an official Grok Imagine product. What we provide is the account system, the web interface, and the credit billing that sits in front of the v1.5 model.
Not on this page — it's built specifically for image-to-video. You need a starting photo; the prompt only controls how that photo animates. A text-only workflow isn't part of what's offered here.
Name the subject, what it's doing, where the camera goes, the lighting, and the overall mood. Concrete phrasing helps — 'slow push-in with drifting background lights', 'product spinning under studio light', or 'character turning to face camera' all give the model something specific to act on.
480p is the cheaper, faster option and is fine for testing an idea. 720p costs more credits per second but gives you a cleaner result worth using in a final cut. Both options stay visible in one dropdown so switching between them is a one-click decision.
Yes — once rendering finishes, the clip loads into the preview player with a download button right there. From that point it's a normal MP4 file, usable in a reel, a storyboard, a pitch, or wherever else you need it.
Cost is duration times a per-second rate that depends on resolution: 1 credit per second at 480p, 2 credits per second at 720p. The default 6-second 480p clip runs 6 credits, so a 90-credit starter pack covers roughly 15 of them; the same pack covers around 7 clips if you render everything at 720p instead. Running short on credits just prompts you to add more before the next render starts.